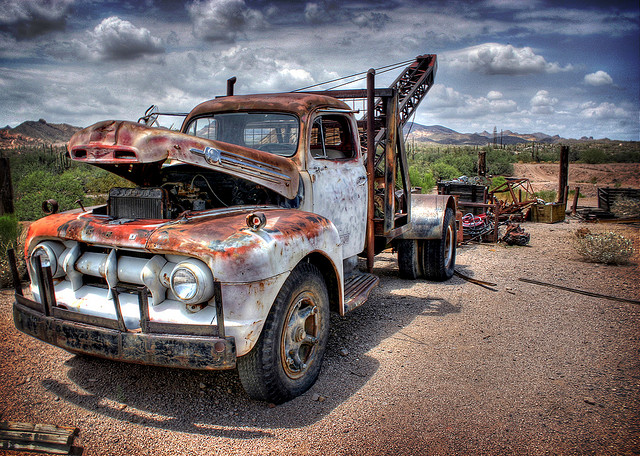
Looking to improve your HDR photos? Check out some of these tips for getting better HDR pictures.
1. Use a Low ISO Setting
The lower your ISO setting on your camera the less noise your picture will have. HDR Photography is notorious for creating noise and images that appear grainy. Although you can fix some of this in post processing, it’s easier to use a lower ISO to begin with.
2. Take as Many Brackets as You Can
The more brackets you have, the more options you have when it comes to post processing. If you take nine exposures you may get a much different image result than taking three exposures. Typically the options include three, five, seven, or nine on higher end DSLR cameras. It’s better to take more exposures and get a great photo than taking more angles and get only okay photos. If you’re concerned about it using up too much memory you can bring additional memory cards along with you while you’re shooting.
3. Shoot in Continuous Mode
Both Canon and Nikon offer continuous shooting modes on most of their DSLR models. This mode will allow you to take all of your bracketed photos by only clicking the release once rather than having to press it for each exposure you are taking. Continuous mode will prevent the camera from shaking (and causing blurry images) by eliminating the need to press the release more than once.
4. Shoot in Aperture Priority Mode
Aperture priority mode affects your depth of field seen by your camera. If you use aperture priority mode (AV mode on Canon Cameras and A mode on Nikon Cameras) you’re making your camera keep your aperture fixed for all the images you’re taking. This prevents any change in depth of field, which can ruin the image. Of course this is only recommended, and you can still use other modes such as Manual or Program.
5. Use a Cable Release
A cable release will work wonders in preventing your camera from shaking when you originally press the release. If you don’t use a cable release there is a chance that your images could appear blurry as the camera has moved slightly while taking the first exposure (or all exposures if you’re not using continuous mode).
6. Use a Tripod
It is possible to take HDR photos without using a tripod if you have very good light, a very quick shutter speed (think 1/20 or less), and you’re able to brace yourself or hold yourself steady for a second or two. However, for most HDR shooting you’re going to want to use a tripod. Without a tripod you will not be able to take any night images or possibly clear daytime images, since you will be taking multiple exposures (anywhere from 3-9) which have to line up almost perfectly when you start processing them.
If you don’t have a tripod you can always improvise of course and set the camera on something solid so that it doesn’t move while it’s taking pictures.
7. Be Patient.
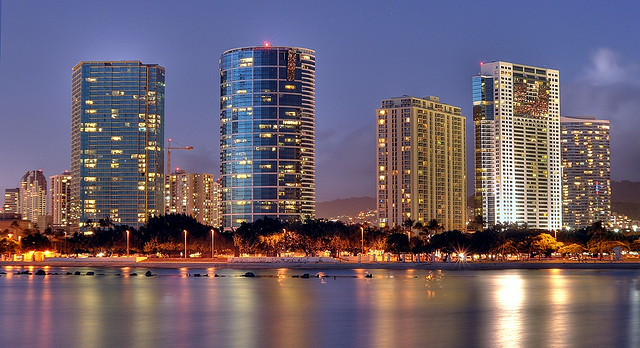
Especially for night shots with long exposures you must be patient to wait for the setting to be clear of any movement that you don’t want. Whether it’s cars going by, or people walking in front of your shot, make sure you can get the shot the first time by giving yourself enough time to take all the exposures. If you’re in a busy area, you may want to take off continuous mode from your camera and shoot each exposure individually as you get a clear shot.
To learn more about High Dynamic Range (HDR), check out our full page on HDR Photography
Photo credits belong to kansas photo, madman, and Codyr